

This is the final film trailer for my fictitious horror film Troubled.
Below is a breakdown of micro media elements within the trailer and my reasons for including them in the trailer.
Camera
I used a variety of camera shots and angles in my film trailer to try and replicate horror trailer conventions and create an eerie atmosphere. These shots were used in conjunction with sound primarily to try and achieve the desired effect.
The first shot I used was a medium shot which was set at a low angle. This shot showed the character running away from something and the low angle represents the vulnerability of the main character. The medium shot added some ambiguity to the scene as the audience could not see the whole figure of who was running, therefore being unable to determine who it is or what they are running away from.

The second shot I used was a long shot with a high angle. The long shot was used to convey the surroundings of the location, which as a woodland area, is a typical convention for a horror film. I also used this shot especially for this scene because as you see the character walk between the trees it makes the audience feel as if they are being slightly voyeuristic. The high angle of the shot also conveys this point as the view the audience is seeing is the same as if they were lurking in the shadows at the actual location.

Another shot I used was a point of view shot. This shot was good to disorientate the audience and show the distress of the main character as she runs away from a mystery villain. The low angle that has been used with the shot also reinforces the vulnerability of the character to the audience. This is the second shot the audience has seen where the character is running away from something, this is going to build tension for my audience as they still aren’t aware of what is chasing the main character.

Towards the end of my trailer there is a quick sequence of shots edited at a fast pace. In this sequence of shots is an establishing shot. I have used this shot to help the audience gain a better idea of the surroundings in the trailer but still leave enough ambiguity to make the audience interested in watching the film.

I also used a fast panning shot to disorientate the audience even more. This combined with the fast editing made it difficult for the audience to determine the location of the shot and at the same time increases the tension. Fast panning is conventionally used in horror film trailers to speed up the pace and build tension amongst the audience.

Lastly an extreme long shot was used to build tension even further. This shot was added in towards the end of the past paced sequence which created even more ambiguity and hopefully makes the audience interested in what the dark figure is and why they are there. This shot is perhaps the most unconventional for a horror film trailer, but I found that it fitted in well with my trailer contextually.

Editing
The editing in my horror trailer started off slowly and then increased in pace like a conventional horror film. I followed this convention because without it you would not get the same feel to the trailer, and there would be no sense of horror, which is essential for a horror film trailer. I used jump cuts throughout the trailer to disorientate the audience and built tension. The audience would then never know which shot or footage would appear next and as well as creating tension this creates interest in the trailer.
The use of credits is also significant in my horror film trailer. A lot of trailers with well know people working on them will often be credited on the trailer because this can influence fans of theirs to watch the film. I tried to emulate this on my own trailer by including my name and the actress’ name, because, as seen on the actor’s profile, people may recognise the actress’ name or face and that could influence them to watch the film at the cinema.

Towards the end of my trailer I included a montage of panning shots of different locations within the overall woodland setting I was filming in to disorientate the audience.
The last shot in the trailer appears to be a freeze frame for a few seconds until the train passes. I added this freeze frame edit to create a sense of anticipation amongst the audience. All they can see is the girl standing, staring at them, but why?

Sound
Eeerie sounds were essential for the trailer and I spent a lot of time searching out the best ones. I think that the sound is the most important component in a horror trailer as you can put different sounds over and piece of horror footage to create a completely different genre and effect. I also tried to get the sounds to correlate with what was happening on screen at the time, such as gong sounds for when writing appears, which could also be considered a sound motif for the text on the screen and sinister noise patterns when footage was being displayed. All of the sound has been non-diegetic and, unconventionally, I decided against adding in any dialogue or diegetic sounds to the trailer to grab the audience’s attention more. At the end I also created an intentional and conventional silence after the train has passed on camera. Sometimes silence can be just as effective as a loud crashing noise, in terms of getting the audience’s attention.
Mise-en-Scene
The location of the trailer was my most planned piece of mise-en-scene as the woodland area is isolated and a conventional setting for a horror film.

I decided to dress my main character in mainly dark clothes so that the boundary of whether the character is a villain or a hero was blurred to the audience. This is another tactic to gain interest in the film, as the character’s clothing will not hint if the character is being chased, or chasing someone, so the audience will naturally want to find out more. In terms of proxemics, the main character is always shown of her own to highlight the isolated state of mind the actress is trying to portray. The film itself is a story of a girl who is haunted by herself, so it is significant and relevant to show the actress on her own. To get my desired lighting effect I chose to film on a particularly overcast day. I didn’t want the weather to be sunny as this would be unconventional for a horror trailer, as a bright light does not convey fear or horror. The overcast skies connoted to the audience that all is not well and something bad could happen.
After going over my storyboards again and accessing feedback from my audience I made the following improvements to my film trailer.
Firstly I shortened the shots in the trailer which I felt were too long. This was to make room for a variety of other shots, which was suggested by my audience feedback. This was the only major criticism my audience feedback had for me, so I had to make sure I took notice.  Once I had trimmed down certain shots I then added in some more of the footage I took whilst shooting on location, as well as a shot of the cinema release date and websites related to the film, this gives the audience extra activities to take part in and gather interest in the film at the same time.
 Once I had added in the extra footage, I sharpened up the fading on the trailer, as suggested by another person on the audience feedback. I made sure that every piece of video footage faded in and then faded out again, apart from the set of quick cuts towards the end of the trailer.
 Lastly I made sure that all of the audio was in the correct place, as this was something my audience feedback seemed to like a lot.
 After I had completed these improvements I was happy with how my trailer looked and elected this as my final piece.
Here is the feedback I received from posting the film trailer on various social networking websites.
 From this feedback I can see that the font used on the trailer is favoured by the audience and is something that will be kept in the final trailer. Another aspect of the trailer that the audience liked was the sound effects, so that is something else I will also be keeping in the final piece. Areas where I can improve now are the variety of shots used. When filming a I took a range of panning shots that I could add in for the final piece if I did end up needing more shots, so that is something I am going edit in. Tweaking the slide transitions would also be a good improvement, as suggested by one person giving feedback. Personally I want to improve the trailer but cutting down the length of some of the shots to make room for some panning shots.
Here is the first draft of my horror film trailer. I have tried to incorporate a range of horror trailer forms and conventions, which I have previously researched, such as eerie sounds and isolated locations, although when playing it back I can see many things I need to edit, change and add in. I am now going to post the link to the video on social networking websites to gain feedback, and I presume that my desired improvements will also be picked up on.
To create my film trailer I used video editing software Adobe Premiere Pro CS6. To begin with I opened the program and opted to create a new project.
 The next screen that appeared allowed me to adjust the settings of the video project. I left most of the settings as they were because I felt that they didn’t need to be changed.
 A new screen appeared with the editing timeline and other windows for me to adjust and edit features. The first thing I did after loading this new screen was import all of the things I had prepared for the trailer such as images, videos and sounds.

I then began adding all the features to the timeline and assorting them in the correct order, adding in certain effects such as fades, where necessary and before long I had created the first draft for my film trailer.
 To save the trailer it wasn’t as simple as going to ‘Save As’. Instead I needed to export the file which brought up a whole new window where more settings could be adjusted to achieve the best final result.

All of my media products feature the main character ‘Alice Wolf’, so I have therefore made a character profile for the actress playing her. This profile replicates an acting CV and allows the audience to see what the actress has previously been involved with and can be used as a reference for those both inside and outside of the film industry.
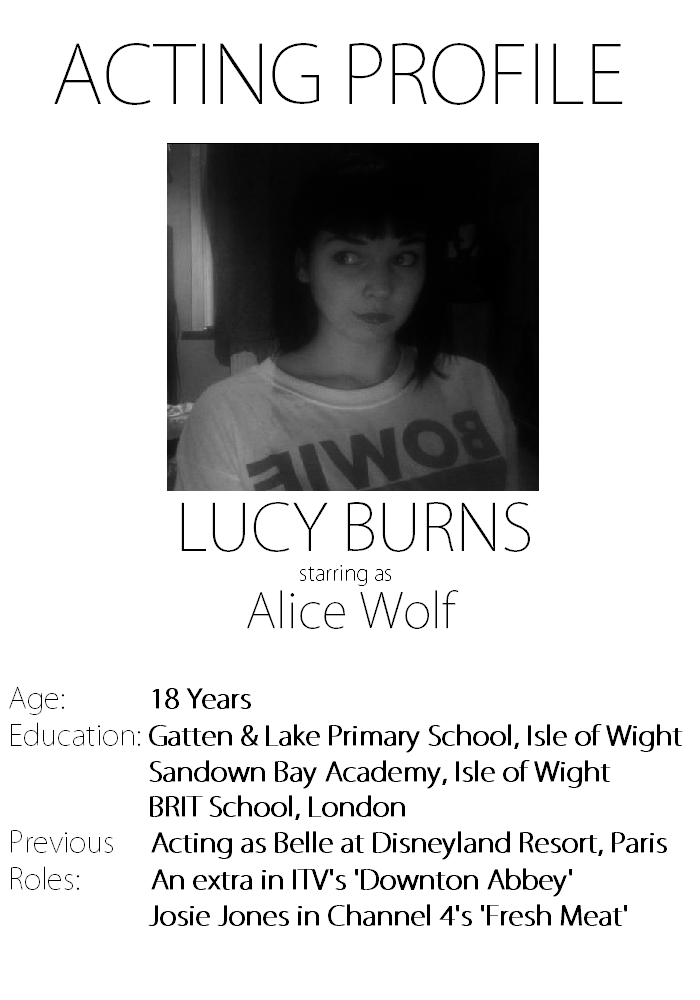 The character of Alice Wolf is very quiet and unassuming with elements of mystery, and I found that the actress, Lucy Burns, encaptures everything I wanted the main character to be. Because the plot associates Alice Wolf with an evil entity that follows her around wherever she goes, I felt that there only needed to be one character on the magazine cover, poster and in the trailer. Lucy has also studied Media Studies at Sandown Bay Academy, meaning she was very helpful during the filming and new all the terms I meant when using media specific terminology.
I needed to storyboard my film trailer before I created it so that I had an idea of the shots I would be using and what footage would need to be shot. This sort of planning makes for a very efficient filming session when it actually comes down to filming the trailer. I also included information on the storyboards like the type of sound I would be using on each shot and how long each shot should last.


Before I went ahead with filming and taking pictures for my media products I created my own risk assessment form (modelled on the one displayed on the government’s website) to ensure that all precautions were taken and risks were dramatically reduced to keep everyone involved safe. The filming took place in a woodland area, so all risks that could occur there had to be taken into account.

When selecting and using music within your horror trailer you have to be careful not to infringe any copyright laws or upset the creators of the sounds you use. I have found a website called Freesound which allows you to download sounds for free without infringing any copyright laws. This is confirmed in the ‘About’ section of the website where it states:
“Freesound aims to create a huge collaborative database of audio snippets, samples, recordings, bleeps, … released under Creative Commons licenses that allow their reuse. Freesound provides new and interesting ways of accessing these samples, allowing users to:
We also aim to create an open database of sounds that can also be used for scientific research. Many audio research institutions have trouble finding correctly licensed audio to test their algorithms. Many have voiced this problem, but so far there hasn’t been a solution.”
I was able to gather a range of sounds from this website which will be perfect for my horror trailer including the sound of a heartbeat and other sinister sounds. To find these sounds all I had to was enter keywords into the search bar.

